Chapter 2: Hello, Flask!
Flask began as an April Fools' joke by Armin Ronacher in 2010. It gradually grew into a mature Python web framework and became increasingly popular with developers. According to the Python Developers Survey, it is one of the most popular Python web frameworks today.
Flask is a typical microframework: it keeps its core focused on handling requests and responses and rendering templates. Werkzeug, a WSGI utility library, handles the first task, while Jinja, a template rendering library, handles the second. Flask wraps these two dependencies, so we do not need to study them in depth yet.
The home page
Our main task in this chapter is to write a simple home page for the application. A home page usually lives at the root URL, /. When someone visits that URL, we want to return a line of welcome text. A few lines of code are enough:
app.py: the application's home page
from flask import Flask

app = Flask(__name__)

@app.route('/')
def hello():
    return 'Welcome to My Watchlist!'
By convention, we save the application as app.py. Make sure you are in the project root and your virtual environment is active, then start the application with flask run in the terminal. Press Control + C to stop it:
(.venv) $ flask run
* Serving Flask app "app.py"
* Environment: production
  WARNING: Do not use the development server in a production environment.
  Use a production WSGI server instead.
* Debug mode: off
* Running on http://127.0.0.1:5000/ (Press CTRL+C to quit)
Now open your browser, enter http://localhost:5000, and press Enter to visit the home page. You will see the greeting returned by the application, as shown below:
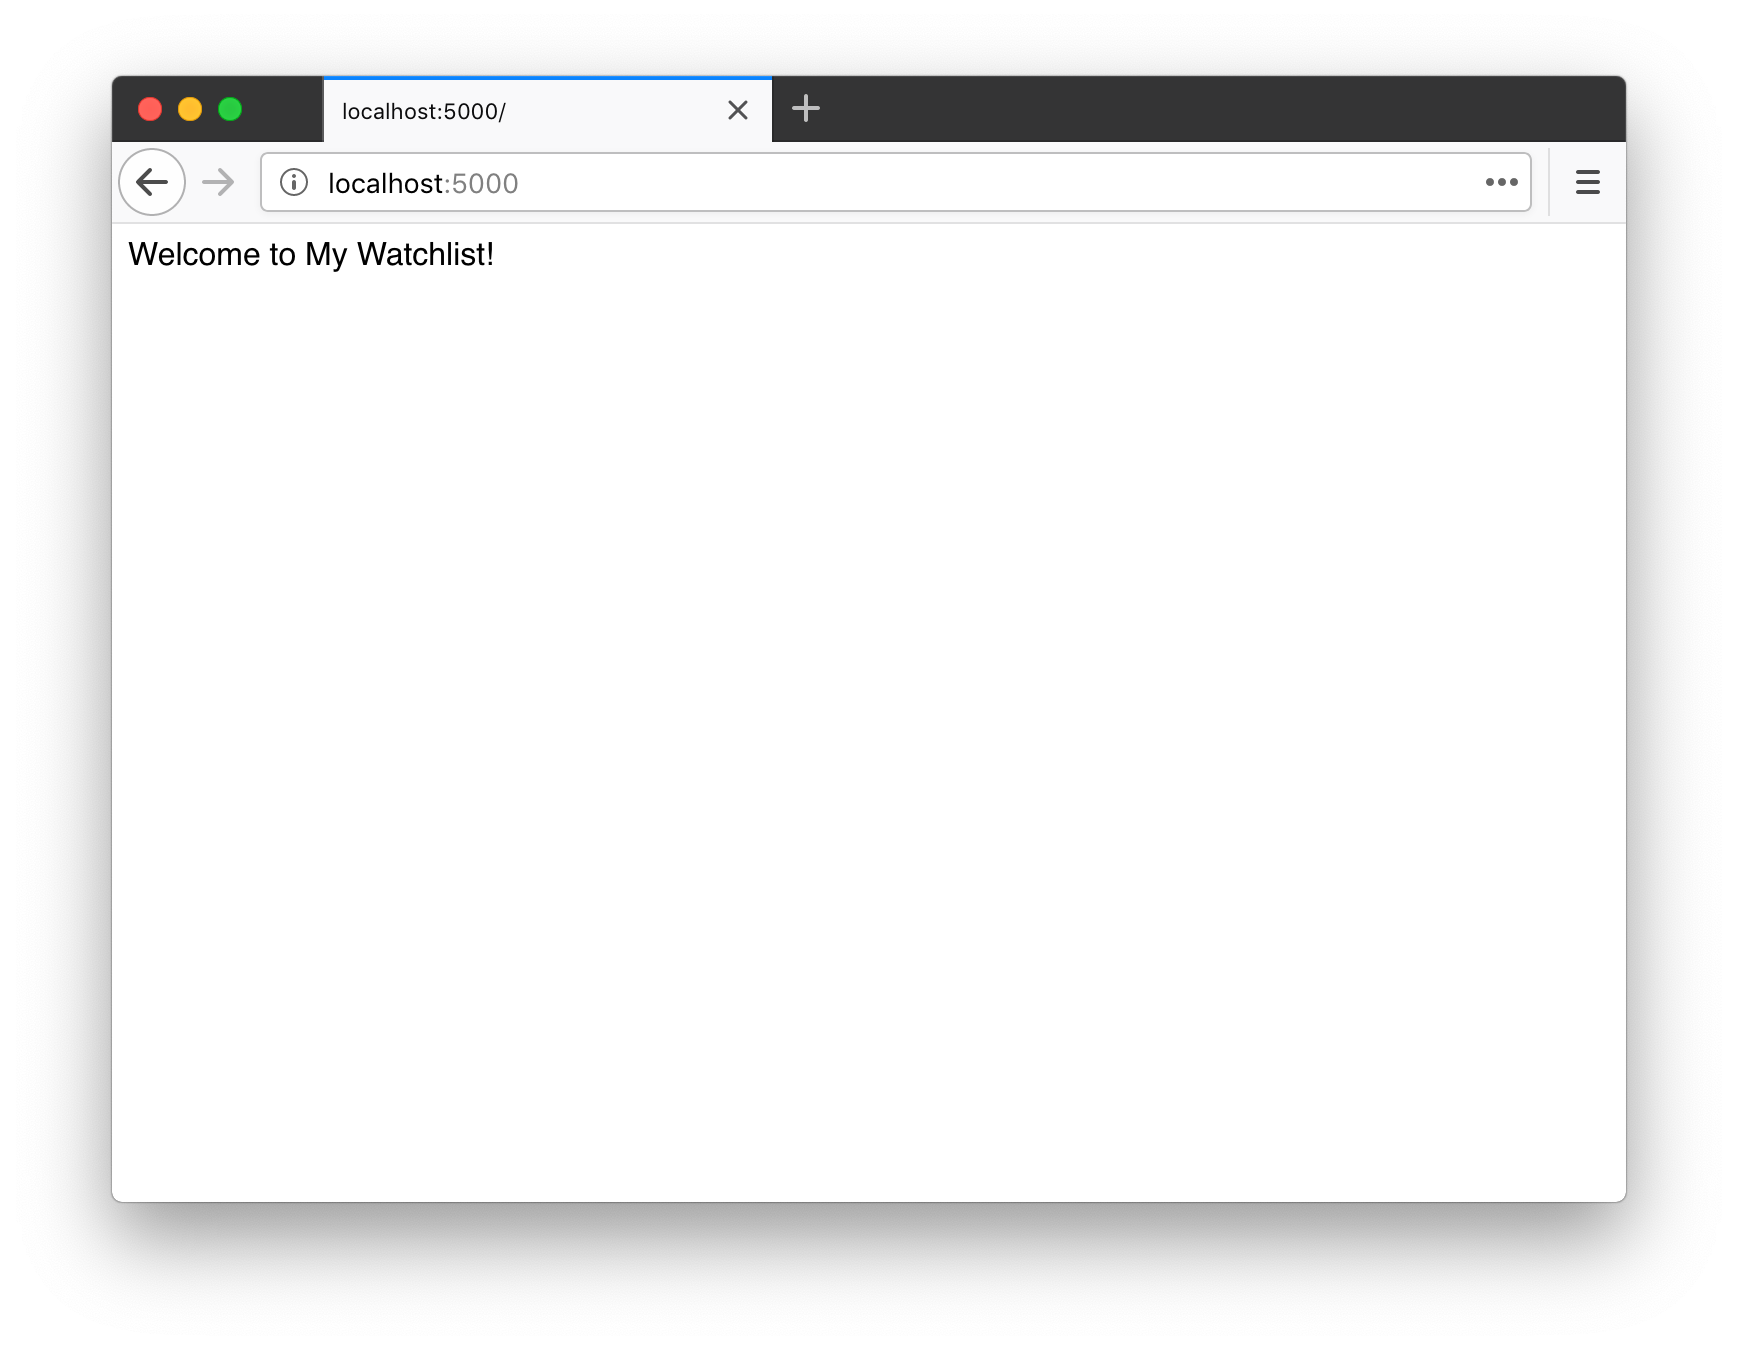
The flask run command runs your application with Flask's built-in development server. By default, this server listens on port 5000 on your local computer, which you can reach at http://localhost or http://127.0.0.1. A colon separates the port from the host in a URL, so you can visit the application at http://127.0.0.1:5000 or http://localhost:5000.
Important The built-in server is only for development. When you deploy the application, you will use a production server with better performance. We will cover this in the deployment chapter.
Add the --debug option when starting the application to enable debug mode. In debug mode, errors are displayed in the browser, and the application reloads automatically when you change the code.
(.venv) $ flask run --debug
On macOS, you may see an error saying that port 5000 is already in use. Use --port to choose another port, such as 8000:
(.venv) $ flask run --debug --port 8000
You would then visit the home page at http://localhost:8000.
Take the application apart
Let's break down this Flask application to understand its basic parts.
First, import the Flask class from the flask package and create an instance of it, the application object app:
from flask import Flask

app = Flask(__name__)  # Pass __name__, the special variable holding the current module's name
Next, we register a function to handle a particular request. Flask calls this a view function. You can think of it as a request handler.
“Registering” the function means adding a decorator above it. The app.route() decorator associates the function with a URL. When someone visits that URL in a browser, Flask calls the function and sends its return value to the browser to display:
@app.route('/')
def hello():
    return 'Welcome to My Watchlist!'
Tip It can help to think of a web application as a collection of view functions, each handling requests for particular URLs.
The first argument to app.route() is a URL rule string. Here, / means the root path.
You only need to supply the path, without the host or port. The / here is the path after the host in the full, absolute URL, http://localhost:5000/. If you set the rule to /hello, the full URL would be http://localhost:5000/hello. Once you deploy the application and give it a domain name such as helloflask.com, the corresponding URL would be http://helloflask.com/hello.
Here is how a request is handled:
- The user visits the address in their browser—in this case, http://localhost:5000/.
- The server parses the request and finds that its URL matches the
/rule, so it calls the associated function,hello(). - The return value of
hello()is processed and sent back to the client, the browser. - The browser receives the response and displays it.
Tip A web application's client can take several forms, but in this book “client” usually means the browser.
How Flask finds your application
If you save the application under another name, such as hello.py, running flask run will produce “Error: Could not locate a Flask application.” Flask assumes by default that your application is in a file named app.py or wsgi.py. If you choose another filename, set the FLASK_APP environment variable or use the --app command-line option to tell Flask which application to run. For example, set FLASK_APP like this:
$ export FLASK_APP=hello.py
In Windows CMD, use set:
> set FLASK_APP=hello.py
In Windows PowerShell, use:
> $env:FLASK_APP = "hello.py"
Flask uses this environment variable to find the module containing the application instance to run. You can set it to:
- A module name
- A Python import path
- A filesystem path
You can also provide the value with the --app command-line option:
(.venv) $ flask --app hello.py run --debug
Manage environment variables
Our application is currently named app.py, so we do not need to set FLASK_APP yet. As the application grows, you may introduce other environment variables. To avoid setting them again every time you open a new terminal session, install python-dotenv, which loads environment variables automatically:
(.venv) $ pip install python-dotenv
Once python-dotenv is installed, Flask reads environment variables from .flaskenv and .env in the project root and adds them to the current environment. Create these two files with your text editor, leaving them empty for now. Alternatively, use the convenient touch command. Remember the dot at the start of each filename:
$ touch .env .flaskenv
Use .flaskenv for non-sensitive environment variables related to Flask's command-line interface, and .env for sensitive data. Do not commit .env to Git. To make Git ignore it, open .gitignore in your editor and add .env on a new line at the end:
.env
Time to experiment
Let's try a few experiments to explore what we have learned in more depth.
Change a view function's return value
First, try changing the return value of the view function. For example, you can return a greeting in Chinese:
@app.route('/')
def hello():
    return '欢迎来到我的 Watchlist!'
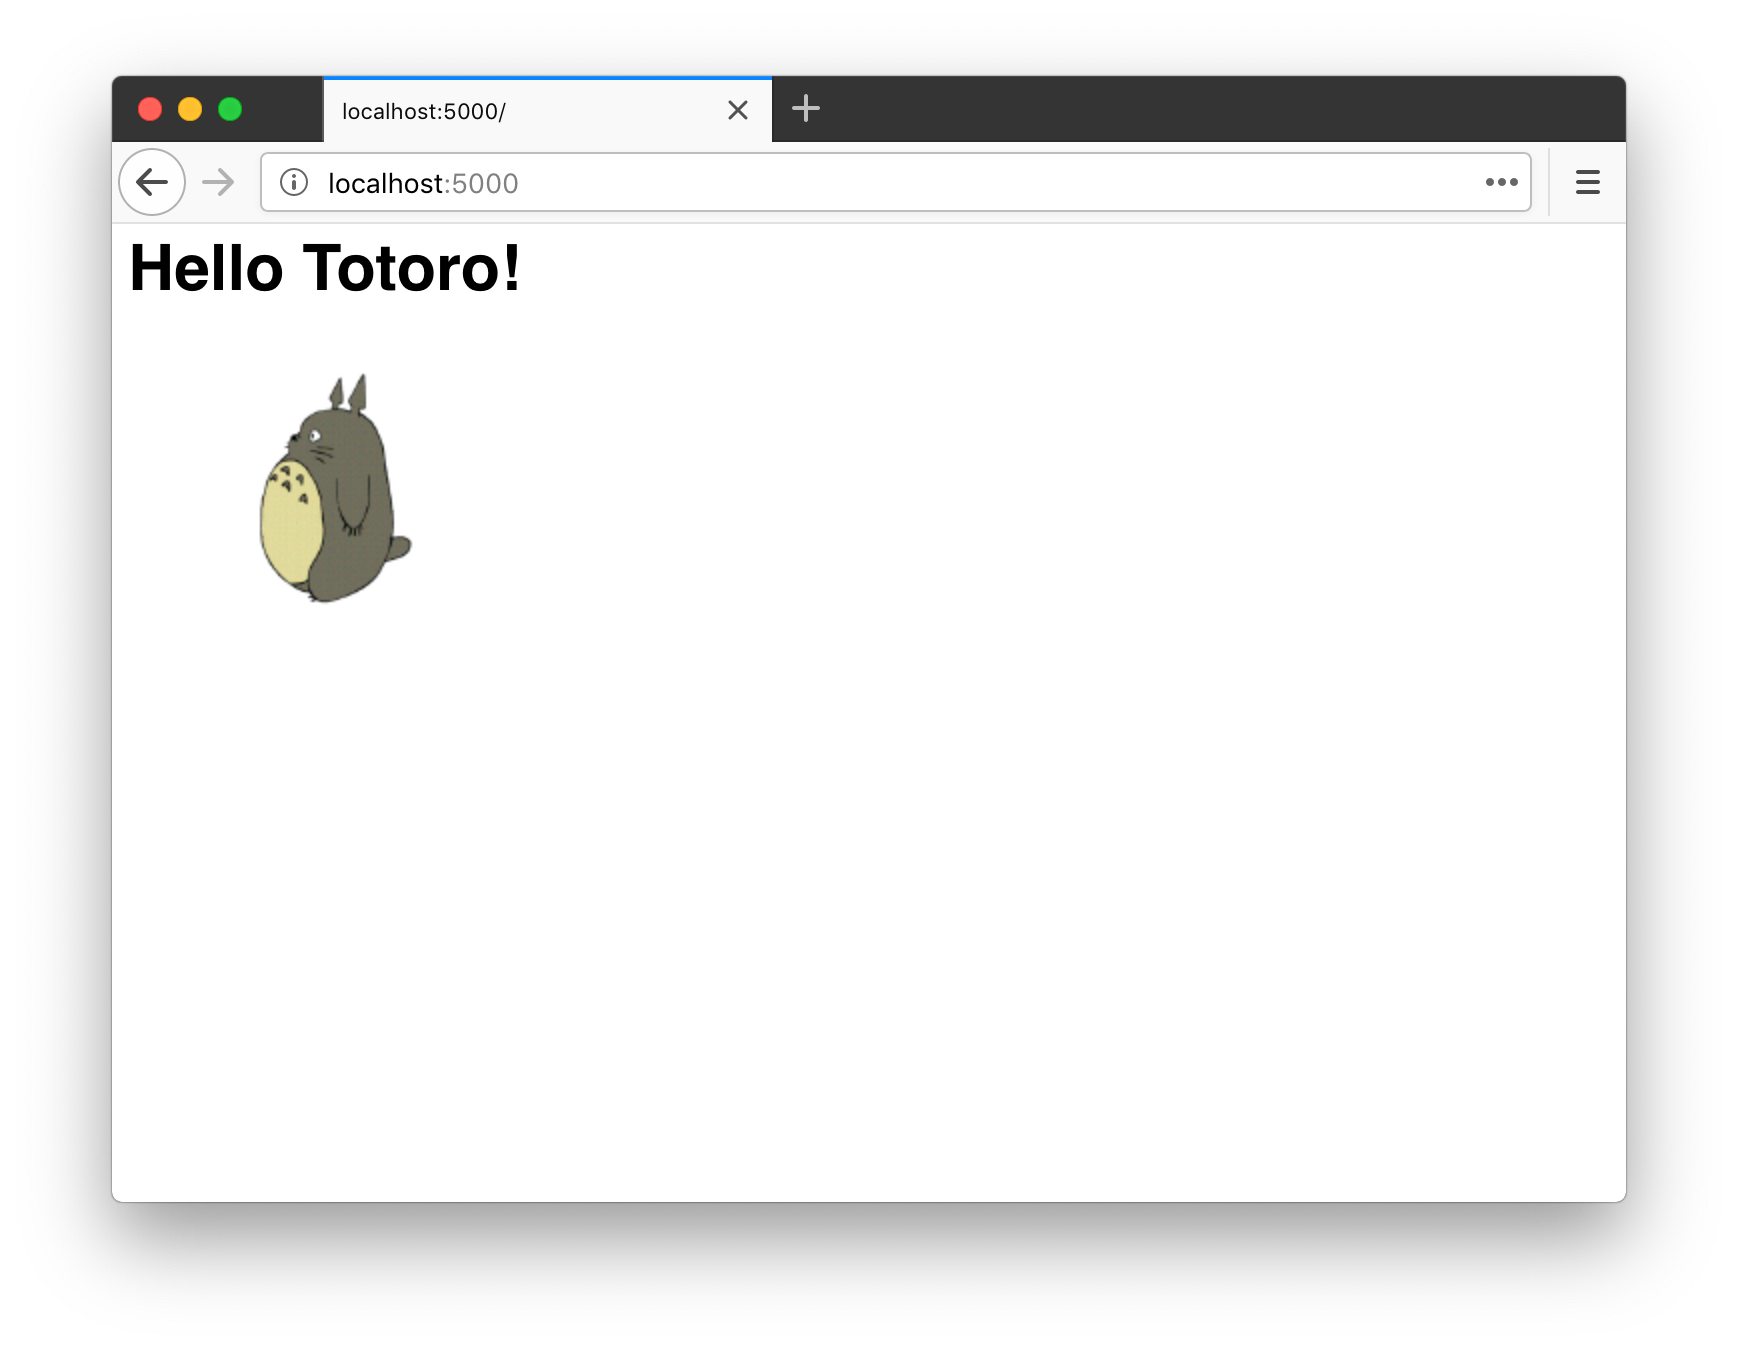
The return value becomes the body of the response, which the browser interprets as HTML by default. That means we can add HTML tags. The example below turns the greeting into an h1 heading and adds an image with an <img> element:
@app.route('/')
def hello():
    return '<h1>Hello Totoro!</h1><img src="http://helloflask.com/totoro.gif">'
Make sure the application is running with flask run --debug. Save your changes and refresh the browser to see the updated page.
Change a URL rule
You can also change the URL rule string passed to app.route. Just make sure it starts with a slash, /. For example:
@app.route('/home')
def hello():
    return 'Welcome to My Watchlist!'
Save the change and refresh the browser. You will see a 404 “Page Not Found” error. The URL for the hello view function is now /home, but the browser is still requesting the old path, /. Visit http://localhost:5000/home instead to see the return value.
You can associate a view function with several URLs by adding more decorators:
@app.route('/')
@app.route('/index')
@app.route('/home')
def hello():
    return 'Welcome to My Watchlist!'
Now http://localhost:5000/, http://localhost:5000/home, and http://localhost:5000/index all display the same return value.
We call the argument to app.route a URL rule because it can also contain variable parts. The following view function handles requests matching /user/<name>. The <name> part is a variable, and its value is passed to the view function as the keyword argument name:
@app.route('/user/<name>')
def user_page(name):
    return 'User page'
Visiting http://localhost:5000/user/greyli, http://localhost:5000/user/peter, or even http://localhost:5000/user/路人甲 calls this function. Let's use the value of name inside the view function:
from markupsafe import escape

@app.route('/user/<name>')
def user_page(name):
    return f'User: {escape(name)}'
Important User input may contain malicious code, so do not return it directly in a response. Use the
escape()function from MarkupSafe, one of Flask's dependencies, to escapename. For example, it replaces<with<, preventing the browser from treating it as executable markup in the response.
Change a view function's name
The final part you can change is the view function's name. It is independent of the URL rule, so you can choose it freely. As with other functions and variables, pick a name that describes the page it handles.
The name has another important role: by default, it is the route's endpoint, which Flask uses to generate the URL associated with the view function. Rather than writing URLs within your application by hand, use Flask's url_for function. Its first argument is the endpoint, which defaults to the view function's name:
from flask import url_for
from markupsafe import escape

# ...

@app.route('/')
def hello():
    return 'Hello'

@app.route('/user/<name>')
def user_page(name):
    return f'User: {escape(name)}'

@app.route('/test')
def test_url_for():
    # Visit http://localhost:5000/test and check the terminal for the URLs printed below.
    print(url_for('hello'))  # Generate the URL for the hello view function; prints: /
    # Notice how the next two calls generate URLs with variable parts.
    print(url_for('user_page', name='greyli'))  # Prints: /user/greyli
    print(url_for('user_page', name='peter'))  # Prints: /user/peter
    print(url_for('test_url_for'))  # Prints: /test
    # Extra keyword arguments are appended to the URL as a query string.
    print(url_for('test_url_for', num=2))  # Prints: /test?num=2
    return 'Test page'
You can keep or delete the code you wrote while experimenting. Just remember to return a greeting at the root URL—that is our task for this chapter.
Chapter summary
In this chapter, we created the application's home page and learned how to write basic Flask view functions. Before we finish, commit the code:
$ git add .
$ git commit -m "Add a minimal home page"
$ git push
To keep things simple, we commit all our changes at the end of each chapter. In a real project, you would usually split them into multiple commits as appropriate. Likewise, we use -m to supply a short commit message here; in a real project, you may want to write a more detailed message.
Going further
- Flask supports converters for the variable parts of URL rules, using the syntax
<converter:variable_name>. For example,/user/<int:number>convertsnumberto an integer, while/uploads/<path:filename>accepts a path string containing slashes. - Flask's context system means that some variables and functions, such as
url_for, only work in particular circumstances, such as inside a view function. Do not worry about this yet; we will learn more about it later. - Files whose names begin with
.are hidden by default and do not appear in the output ofls. Usels -fto list all files. - Understanding the basics of HTTP will help you understand how Flask works.
- Read How the Internet works (Chinese).
- Read Exploring how Flask works through the HTTP request–response cycle (Chinese).